Buttermilk Pan Fried Chicken
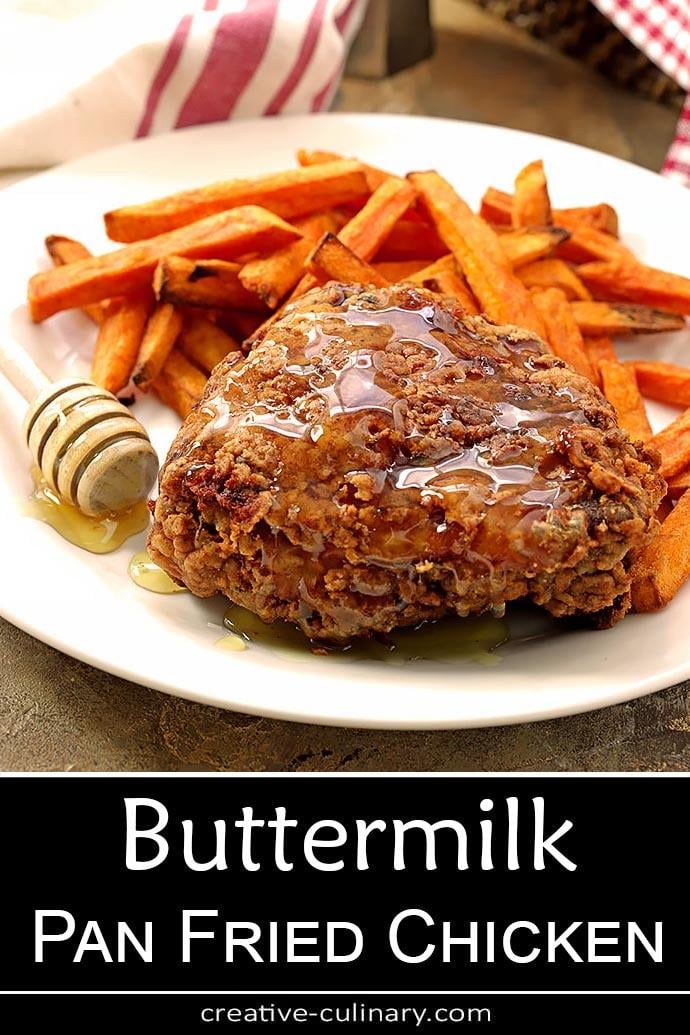
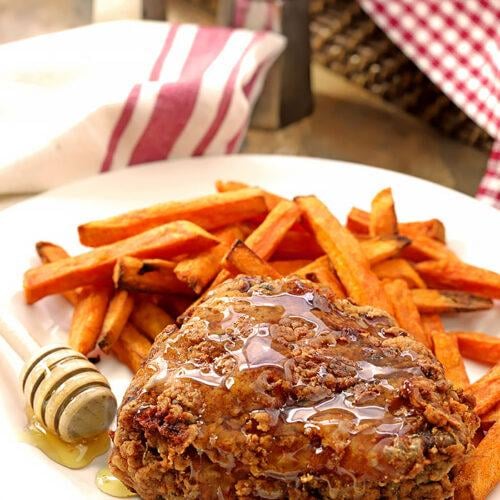
My dad inspired this Buttermilk Pan Fried Chicken. His fried chicken was always the best, it was so crisp and flavorful. We love it served with honey!
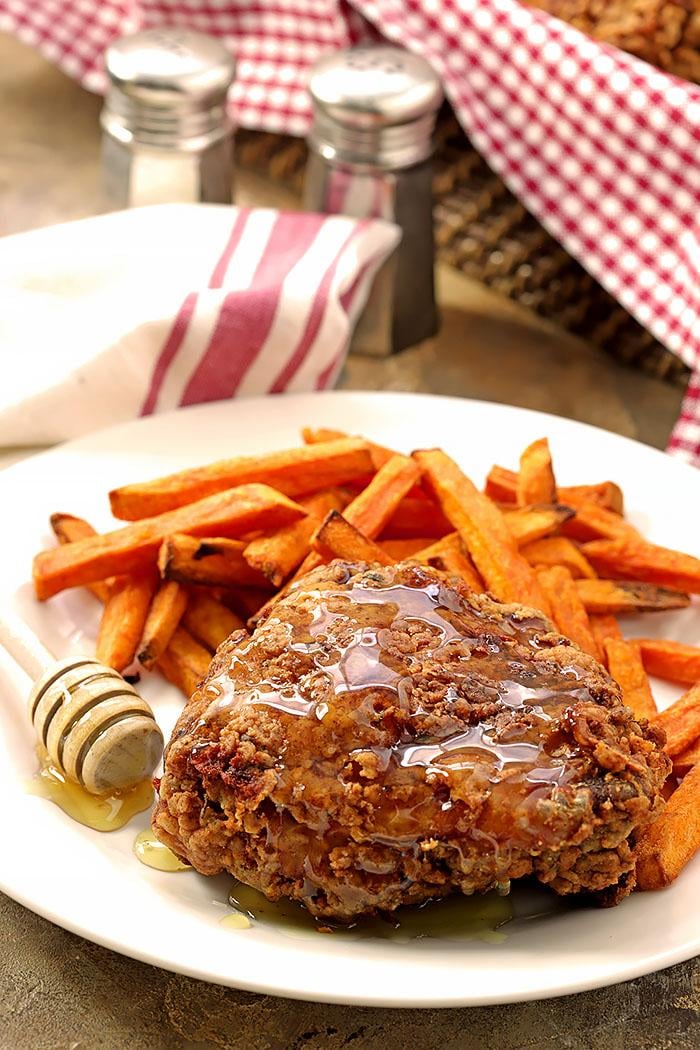
I’ve been on something of a fried chicken discovery tour. It started with this Korean Fried Chicken; it was SO good I wanted to find more fried chicken type dishes that measured up. Why I took so long to come back home again and make this Buttermilk Pan Fried Chicken is beyond me. But at least I’m here now and so glad I remembered this recipe from my youth.
I grew up in a large family; for the majority of our lives there were seven of us, five kids and my mom and dad. My youngest sister was born when I was sixteen so while I really have five brothers and sisters, to be honest for most of my life at home, it was just the five of us kids.
We had a pretty ‘traditional’ family at the time; mom stayed home with the kids and dad went to work every day. But one thing I’ve always been pretty amazed at, especially since it was that long ago, was just how much my father did around the house.
He was officially a Cartographer with the Defense Mapping Agency after having serving as the Captain of a bomber unit during WWII and coming home to take advantage of the GI Bill and go to college.
While that was official, he could never discuss his job so now I imagine his job as something far more glamorous than it actually was I’m sure. Trips to the Pentagon and talks of space…that was all rather thrilling to the girl who shared a love of the St. Louis Cardinals with him.
Still my dad was always busy with all of the chores a large family had. None of that division of labor that some families practiced.
He had no problem bathing all the little kids (ever pragmatic, there were lined up in the shower, no playing around in a tub!), always did the grocery shopping (I remember that well since he and I always went on Saturday morning and brought home everything for the week), and he cooked. A lot.
He always grilled of course, such a manly thing and my dad did it all year long too. We had a new-fangled gas grill in our last house that was attached straight to the gas line…fancy! On more than one occasion he would be out in a snowfall finishing up some burgers.
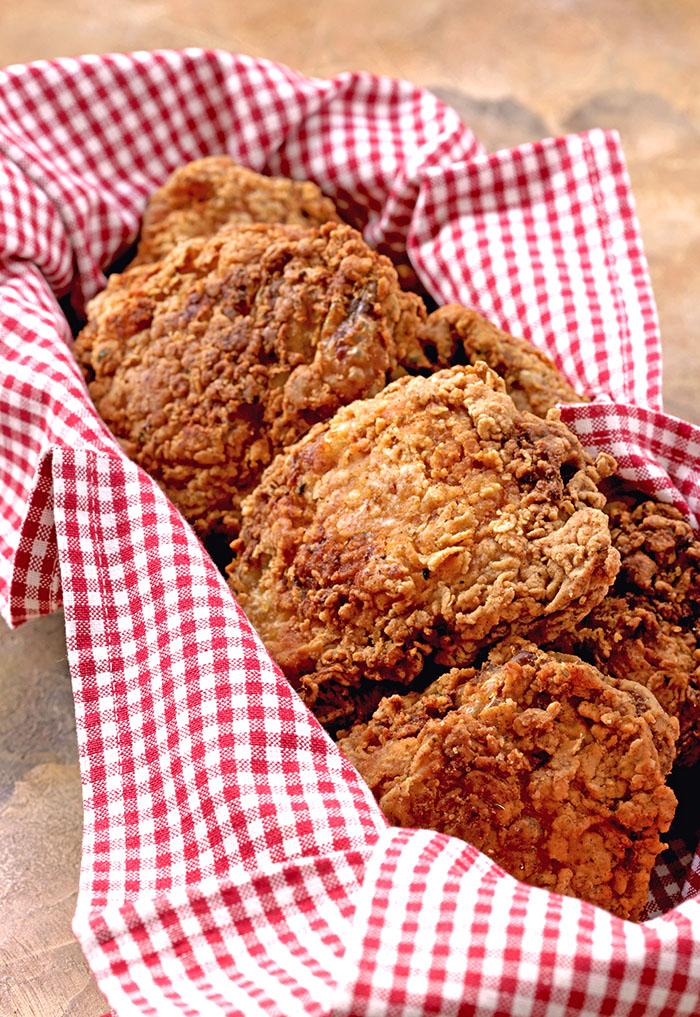
And he ALWAYS made this Buttermilk Pan Fried Chicken. OK, maybe he didn’t do the buttermilk part, that’s on me, but we never complained; we loved seeing fried chicken in the dinner rotation.
Funny I never thought to ask him where he learned to cook anything. My only memory of my grandfather, his dad, was of him sitting in a green leather sofa in the living room of their home, never helping my grandma with anything. Maybe my dad starting helping her, we all loved her so much…I could see that happening.
If there was ever a German anything in our house it was because of him too; German pastries for Sunday breakfast (plus this Gooey Butter Cake) and we might have Buttermilk Pan Fried Chicken accompanied by this Slaw with Warm Bacon Dressing on the side; one of his specialties that I know he inherited from my Grandma.
After the success I had with the aforementioned Korean Fried Chicken, I wanted to try my hand at air frying chicken with a new unit I had from Cuisinart so I made some that was oven fried.
I also retrofitted a recipe I used to love that was made with Orange Roughy and came up with this Broiled Chicken Dish with Parmesan Topping, and more. Why I saved this old recipe for last is beyond me. It was everything I remembered…and maybe even better.
I made a couple of changes. First, I soaked it in buttermilk. Or at least my version of buttermilk. I never buy the stuff; I simply add some lemon juice to 2% milk and it works beautifully, it tenderizes while also adding a nice bit of tang. For this recipe with 3 cups of milk, I added the juice of one lemon. Perfect and no hunt for real buttermilk is required!
As I mentioned; I LOVED the end result of Korean Fried Chicken so this recipe now has some cornstarch added to the flour mixture that coats the chicken because I loved how crispy the skin was on that recipe.
My Dad’s version combined flour with salt, pepper, and paprika to coat the chicken. I didn’t modify so much as added some garlic powder, dry mustard, and thyme. It’s actually something you can fiddle with too; the spices in the coating will definitely influence the flavor.
I do put a bit of hot sauce in the buttermilk mixture…why not right? I think I could add some heat to almost everything; heck I even added it to this Mexican Hot Chocolate Pie.
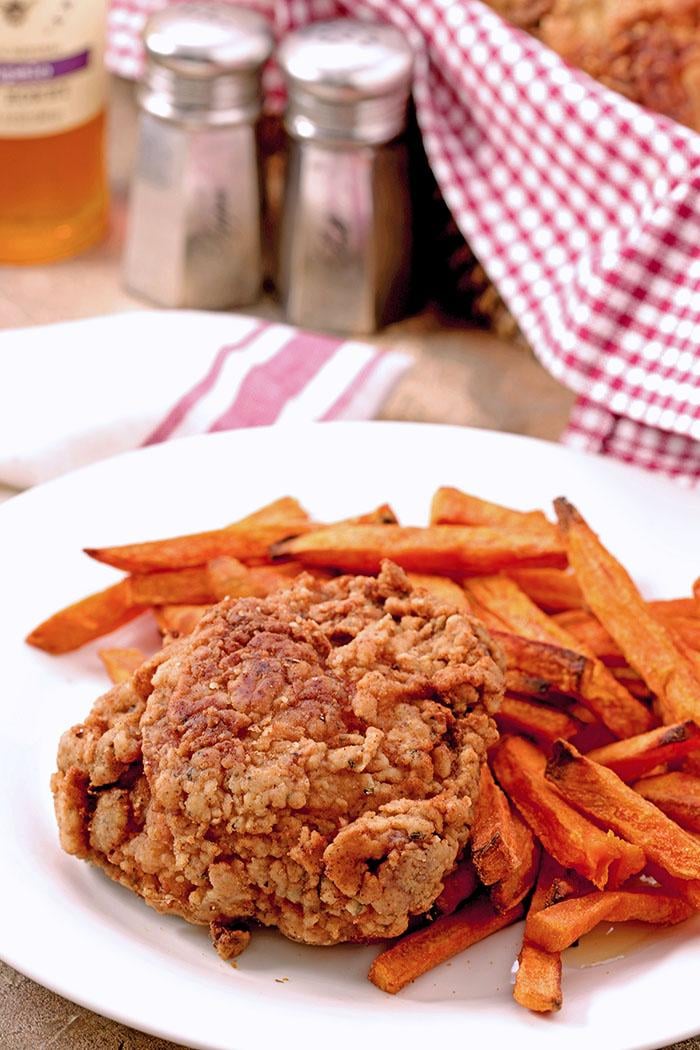
Pan frying chicken is different than your standard ‘fried chicken.’ Most fried chicken has to be dunked completely in hot oil to be fried.
Even though I have a small electric deep fryer, the truth is it takes a LOT of oil for anything you want to fry in an appliance like that. I like this recipe because you only need about a half inch of oil in a skillet for pan frying.
One secret for this chicken? If you have it, add a couple of tablespoons of bacon fat to the oil; it adds another layer of flavor. If you don’t have it? Buy some bacon and save it…it’s a great element for a lot of things in lieu of butter or olive oil.
The basic procedure is to fry the skin side down for about 15 minutes while uncovered, turn over the chicken, cover, and fry the other side for about the same amount of time. One important trick though that my dad taught me? Turn up the heat a couple of minutes before the second side is done; let it really crisp up the outside and then turn it and do the same with the side you cooked first.
It’s not unlike Korean Fried Chicken that is fried twice except you never have to remove it from the pan. Watch carefully though; you only need about an extra minute per side to get it crispy; don’t let it burn!
One thing I have that I love for this use is a splatter cover for my skillet. I went too many years without one; they really do keep your cook-top so much cleaner during the part where frying is done with the lid off.
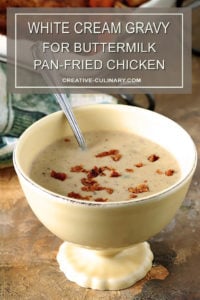
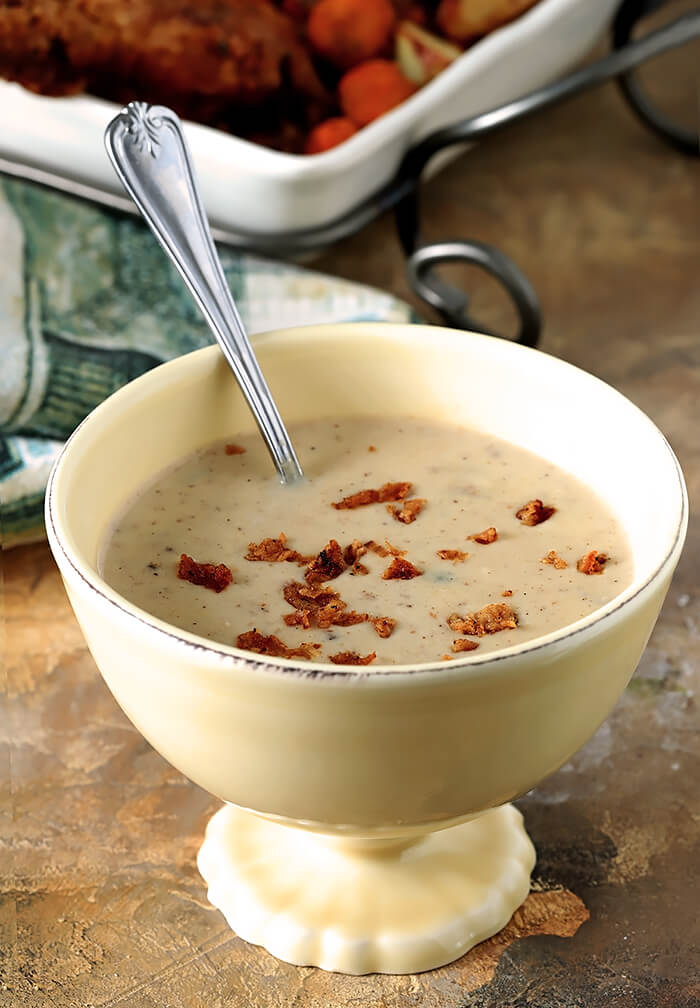 The result is a delicious, moist and tender interior with a nice crispy, flavorful crust. And there is a LOT of that crispy crust stuff too; save every morsel from the skillet and the plate with chicken…makes the white cream gravy even better!
Yes, White Gravy. It is the best; I honestly could care less about gravy made from beef stock, this is the one I’ve always died over. And for what it’s worth I never put it on chicken either…only mashed potatoes! I like to make a hot honey butter for my chicken. I use Momofuku’s Chili Crunch (affiliate link) but if you don’t have that and want some hot honey, use your favorite chili crunch or Sriracha or even simply some cayenne pepper.
I make a variation for our Thanksgiving with this recipe for Maple Bacon Turkey that I think is absolutely amazing. Great over potatoes, biscuits, to dunk your fried chicken into…honestly I could eat it with a spoon; if you’ve never made it, you must try it!
Here’s to my old man and what my neighbor Casey called, the best fried chicken he had ever had outside of Popeye’s. I’ll take that!
Our Favorite Chicken Dishes
Grilled Chicken
Fried or Stovetop Chicken
Baked or Broiled Chicken
PIN IT! ‘Buttermilk Pan Fried Chicken’
Buttermilk Pan Fried Chicken
Ingredients
For the Buttermilk Mixture
- 3 cups buttermilk or milk with the juice of one lemon
- 2 to 3 teaspoons hot pepper sauce I used Tabasco
- 1½ teaspoons salt
- 4 pounds bone-in chicken pieces legs and thighs preferably
For the Flour Mixture
- 1 cup unbleached all-purpose flour
- 1 cup cornstarch
- 1½ teaspoons salt
- 1½ teaspoons black pepper
- 1 teaspoon white pepper
- 1 tablespoon paprika
- 1 tablespoon garlic powder
- 1 teaspoon dry mustard
- 1 teaspoon dried thyme
To Fry
- 2 cups vegetable oil or approximately ½” in your frying pan
- ¼ cup bacon drippings
For the Cream Gravy
- ¼ cup Pan drippings
- 3 tablespoons seasoned flour
- 1½ cups milk
- 1 cup chicken stock
- ¼ cup half-and-half
- ½ teaspoon black pepper
- Salt to taste
For the Hot Honey Butter
- ⅓ cup honey
- 2 tablespoons water
- 3 ½ tablespoons butter
- ⅛ teaspoon Momofuku Chili Crunch or chili of your choice (optional)
Instructions
- Mix the buttermilk, hot pepper sauce, and 1 teaspoon of salt in a container that will hold all of the chicken. Add the chicken parts, turning to coat them well. Cover and refrigerate for at least 2 hours and up to 12 hours, turning occasionally.
- For the flour coating, combine all of the flour, cornstarch, and seasonings in a large brown paper grocery bag or large plastic bag (set aside 3 Tbsp of mixture for gravy if making). Drizzle about a tablespoon of the buttermilk mixture into the flour…yes, small lumps are OK!
- Position a wire rack over paper towels for draining the chicken near the cooking area.Heat the oil in a 12-inch to 14-inch skillet over medium high heat. If using, add the bacon drippings to the skillet. When the oil reaches 375°F, reduce the heat to medium and begin to prepare the chicken.
- Pull the chicken pieces, one at a time, out of the buttermilk and let any excess liquid drain back into the bowl. Drop a couple of pieces of chicken into the seasoned flour and shake the closed bag to coat it. Make sure plenty of the flour mixture coats each piece of chicken, including those little lumps (those will become delicious crispy bits!)
- Place each piece in the skillet, skin side down. Only fit as many pieces as will fit together in a 12-inch skillet, close but not touching. (For my 5 thighs and 6 legs, I had to do two separate processes to cook all pieces).
- Adjust the heat as needed to maintain a temperature of about 300°F (adding the chicken to the oil will drop the temperature to this already) and fry for 15 minutes.
- After the allotted time, turn the chicken. Best to use tongs to avoid piercing the crust. Put a lid on the skillet and fry covered for 13 to 15 additional minutes, until the crust is a rich golden brown and the meat is cooked through but still juicy.
- Turn up the heat to medium high and heat both sides just enough to get a nice brown and crisp up the crust. Check the interior temperature; for light meat it should be no higher than 165°, I like to cook dark meat longer, up to 175°, it won't dry out and pulls away from the bone easier. You can actually remove the meat prior to it meeting those temps by a couple of degrees; it will continue to cook for a few minutes after it's removed from heat. If it meets that temperature, drain the chicken on the rack; skin side up.
To Prepare the Gravy
- Pour off the pan drippings through a strainer and leave about ¼ cup of the drippings in the skillet. Return any brown cracklings from the strainer to the skillet and discard the remaining drippings (let cool completely before throwing out).
- Return the skillet to medium heat. Whisk in the flour and cook for one minute. Add the milk, stock, and cream, whisking as you pour them in. Bring to a boil, then simmer until the gravy is thickened and the raw flour taste is gone, about 3 minutes.
- Stir the gravy up from the bottom frequently, scraping up the browned bits. Add salt and pepper to taste. Transfer the chicken to a platter and put the gravy into a serving dish. Serve immediately.
Hot Honey Butter
- Add honey to a 1-quart saucepan and caramelize over medium-high heat until deep, nutty brown, with an aroma of burnt sugar.
- Remove from heat and add water. Return to heat and add butter, stirring until incorporated.
- Add heat of your choice to taste. Serve on the side.
Notes
Nutrition

Buttermilk Pan Fried Chicken
Ingredients
For the Buttermilk Mixture
- 3 cups buttermilk or milk with the juice of one lemon
- 2 to 3 teaspoons hot pepper sauce I used Tabasco
- 1½ teaspoons salt
- 4 pounds bone-in chicken pieces legs and thighs preferably
For the Flour Mixture
- 1 cup unbleached all-purpose flour
- 1 cup cornstarch
- 1½ teaspoons salt
- 1½ teaspoons black pepper
- 1 teaspoon white pepper
- 1 tablespoon paprika
- 1 tablespoon garlic powder
- 1 teaspoon dry mustard
- 1 teaspoon dried thyme
To Fry
- 2 cups vegetable oil or approximately ½” in your frying pan
- ¼ cup bacon drippings
For the Cream Gravy
- ¼ cup Pan drippings
- 3 tablespoons seasoned flour
- 1½ cups milk
- 1 cup chicken stock
- ¼ cup half-and-half
- ½ teaspoon black pepper
- Salt to taste
For the Hot Honey Butter
- ⅓ cup honey
- 2 tablespoons water
- 3 ½ tablespoons butter
- ⅛ teaspoon Momofuku Chili Crunch or chili of your choice (optional)
Instructions
- Mix the buttermilk, hot pepper sauce, and 1 teaspoon of salt in a container that will hold all of the chicken. Add the chicken parts, turning to coat them well. Cover and refrigerate for at least 2 hours and up to 12 hours, turning occasionally.
- For the flour coating, combine all of the flour, cornstarch, and seasonings in a large brown paper grocery bag or large plastic bag (set aside 3 Tbsp of mixture for gravy if making). Drizzle about a tablespoon of the buttermilk mixture into the flour…yes, small lumps are OK!
- Position a wire rack over paper towels for draining the chicken near the cooking area.Heat the oil in a 12-inch to 14-inch skillet over medium high heat. If using, add the bacon drippings to the skillet. When the oil reaches 375°F, reduce the heat to medium and begin to prepare the chicken.
- Pull the chicken pieces, one at a time, out of the buttermilk and let any excess liquid drain back into the bowl. Drop a couple of pieces of chicken into the seasoned flour and shake the closed bag to coat it. Make sure plenty of the flour mixture coats each piece of chicken, including those little lumps (those will become delicious crispy bits!)
- Place each piece in the skillet, skin side down. Only fit as many pieces as will fit together in a 12-inch skillet, close but not touching. (For my 5 thighs and 6 legs, I had to do two separate processes to cook all pieces).
- Adjust the heat as needed to maintain a temperature of about 300°F (adding the chicken to the oil will drop the temperature to this already) and fry for 15 minutes.
- After the allotted time, turn the chicken. Best to use tongs to avoid piercing the crust. Put a lid on the skillet and fry covered for 13 to 15 additional minutes, until the crust is a rich golden brown and the meat is cooked through but still juicy.
- Turn up the heat to medium high and heat both sides just enough to get a nice brown and crisp up the crust. Check the interior temperature; for light meat it should be no higher than 165°, I like to cook dark meat longer, up to 175°, it won't dry out and pulls away from the bone easier. You can actually remove the meat prior to it meeting those temps by a couple of degrees; it will continue to cook for a few minutes after it's removed from heat. If it meets that temperature, drain the chicken on the rack; skin side up.
To Prepare the Gravy
- Pour off the pan drippings through a strainer and leave about ¼ cup of the drippings in the skillet. Return any brown cracklings from the strainer to the skillet and discard the remaining drippings (let cool completely before throwing out).
- Return the skillet to medium heat. Whisk in the flour and cook for one minute. Add the milk, stock, and cream, whisking as you pour them in. Bring to a boil, then simmer until the gravy is thickened and the raw flour taste is gone, about 3 minutes.
- Stir the gravy up from the bottom frequently, scraping up the browned bits. Add salt and pepper to taste. Transfer the chicken to a platter and put the gravy into a serving dish. Serve immediately.
Hot Honey Butter
- Add honey to a 1-quart saucepan and caramelize over medium-high heat until deep, nutty brown, with an aroma of burnt sugar.
- Remove from heat and add water. Return to heat and add butter, stirring until incorporated.
- Add heat of your choice to taste. Serve on the side.

To cover or not to cover while cooking. The recipe doesn’t indicate to cover the pan while cooking, but later states to remove the lid.
Oops…sorry Dave. It should not be covered during the first step; although I do use a spatter guard. The lid goes on after it’s turned over to keep the heat inside and assure it cooks through. Then off again to crisp up. I’ll make that change now; thanks for the heads up!
It looks so great. I will make it as soon as possible.