Instant Pot Chickpeas (Garbanzo Beans)
Want to make your own hummus? Let me show you Instant Pot Chickpeas that are easy and so much more flavorful than canned. You will thank me!
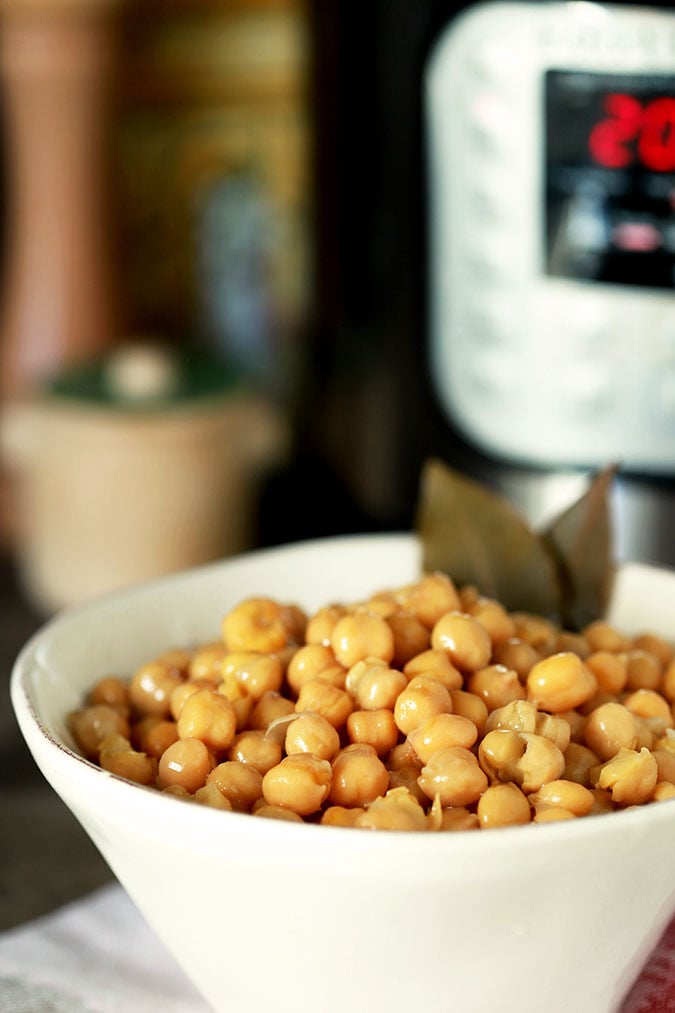
I am the last person I would have ever expected to actually make hummus from scratch including these Instant Pot Chickpeas. True confession? It’s never really appealed to me that much. Oh I’ve tried it and it’s OK, but why bother with OK? What could possibly have inspired me?
Easy. A challenge! My cousin Pat that I have not seen since we were probably teenagers, is on Facebook too so we keep in touch there and not long ago she mentioned she had made some hummus and it was a bit too garlicky; wondered if adding something else like artichoke might improve the flavor. I asked her to send me the recipe and I was off and running.
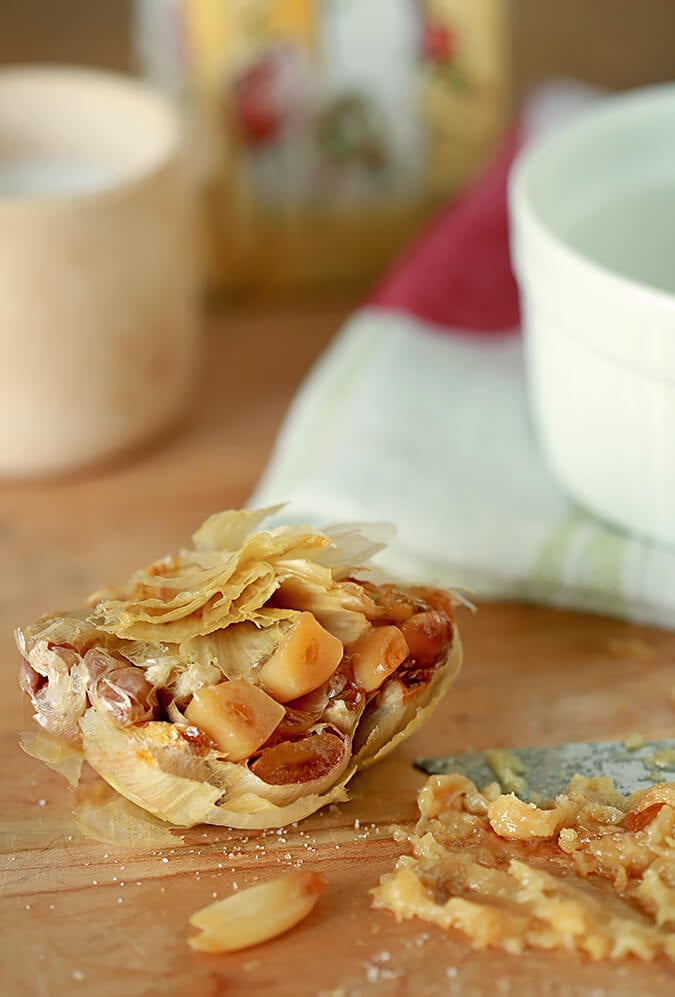
A week later I might now be a hummus expert but I wanted to do it right. And in my book right is from scratch. So, yesterday I posted my first revision to Pat’s recipe and that was to roast the garlic and not just one or two of the cloves, nope.
I went for the entire bulb and it perfect. Once garlic is roasted it sweetens and mellows and that whole head was perfect. Take a peek at that post if you haven’t made it before and I’ve given you information on how to roast it in an Instant Pot too, my new favorite toy.
Once I had the garlic finished I moved on to the main component in hummus, the Instant Pot Chickpeas. Also known as garbanzo beans, these little gems are pretty much a staple in Middle Eastern cuisine and you’ve probably had two of the favorite dishes they’re used in; both hummus and falafel.
You can find the canned chickpea product at almost any grocery store in the bean section but trust me, try cooking the beans from scratch. It’s especially easy with an Instant Pot but even without one where you have to soak the beans and slow cook them, the end result is much more flavorful and leaves you with a tasty stock to use in the hummus we’re working towards.
I’ve seen recipes that include simply the dried chickpeas and water but I decided to add a bit of oomph from the getgo and added some bay leaves and chicken stock to the water for flavor. The more layers of flavor the better when preparing Instant Pot Chickpeas.
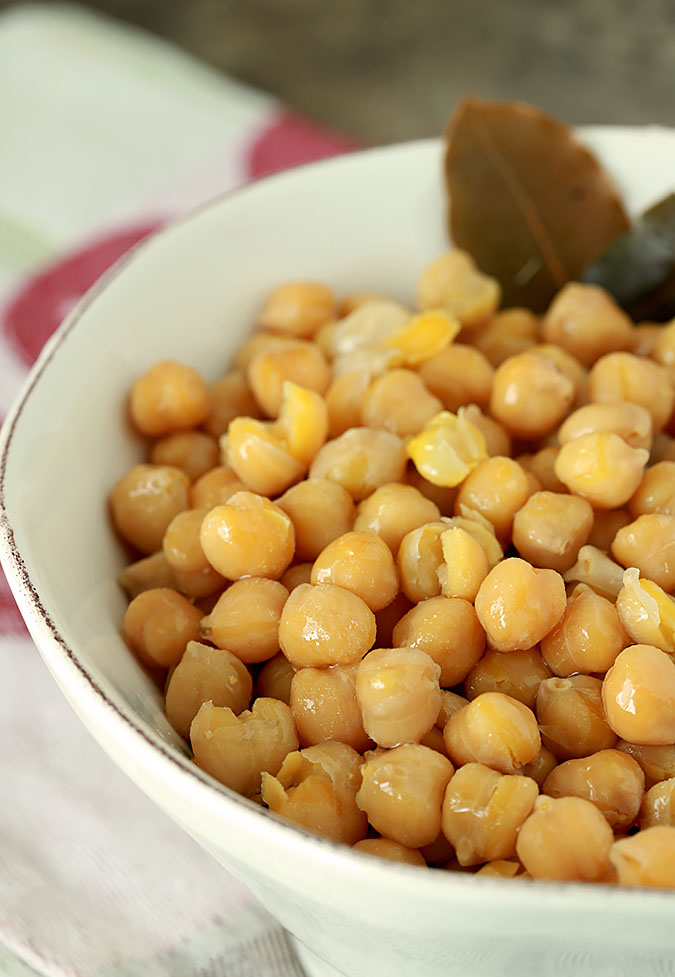
While the recipe for roasting the garlic indicates that you can make it in a pressure cooker (the Instant Pot is just the new darling), I opted to cook the bulb in my toaster oven at the same time that I was cooking the chickpeas.
I was using both foods for the Artichoke and Roasted Garlic Hummus I was working on in my kitchen. That way, once the chickpeas were ready, I had all of the other components ready to mix together with them.
This is certainly not a glamorous dish but it’s critical for hummus and for me it was sort of perfect timing. I gave myself a new camera for Christmas and this past week received the rebate they had offered so I bought myself a new 100mm macro lens; I want to get up close and personal with my food!
This shoot was invaluable to me as working with the equipment is so new and I needed a subject that would not wilt. I probably took close to 150 shots.
Try weeding that down to your two favorite! Still, these little nuggets did let me play with a million different settings so I don’t see un-glamorous so much as I see a shoot that was a workhorse in my quest to improve…makes it all worthwhile!
Be sure to stay tuned…tomorrow is our third ingredient for the hummus, Tahini, a thick paste-like sauce made from sesame seeds and olive oil. No pressure cooker required!
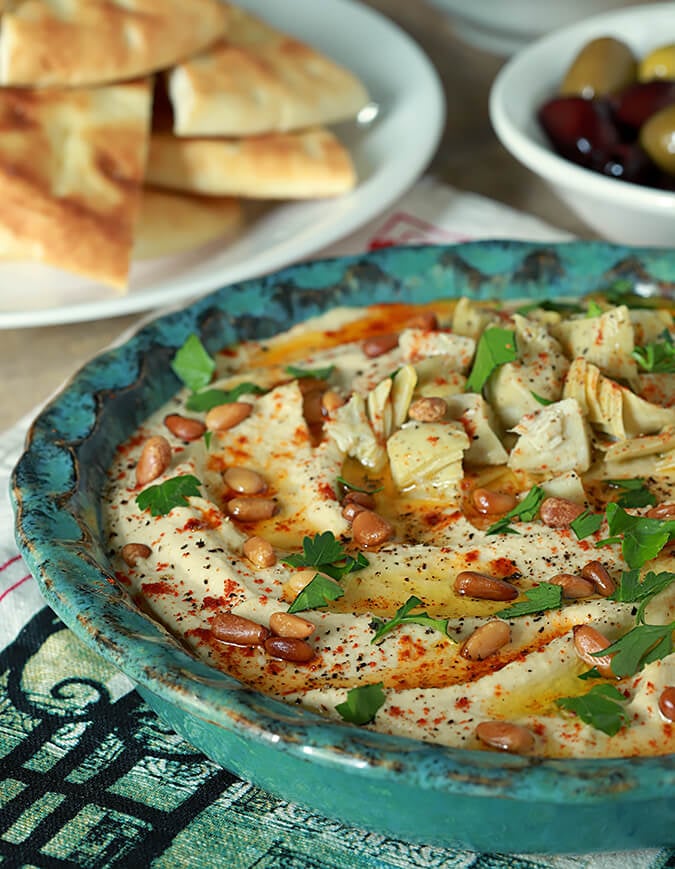
Here’s the finished lineup for everything that came together in the Artichoke and Roasted Garlic Hummus. Mixing up some ingredients and changing flavors is so easy…we also did a Sun-dried Tomato and Roasted Garlic version that was equally good!
To Make Artichoke and Roasted Garlic Hummus
- How to Make Perfectly Roasted Garlic in the Oven or Instant Pot
- How to Prepare Chickpeas (garbanzo beans) in the Instant Pot
- Tahini – A Toasted Sesame Paste
- Artichoke and Roasted Garlic Hummus
PIN IT! ‘Instant Pot Chickpeas’

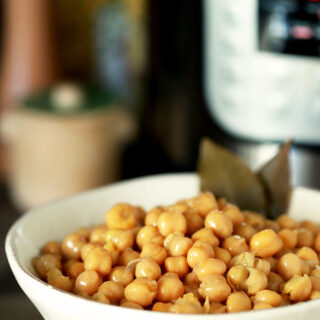
Chickpeas (Garbanzo Beans) Cooked in the Instant Pot
Ingredients
- 1 cup Chickpeas/Garbanzo Beans Dry beans
- 4 cup Water
- 3-4 cloves Garlic
- 2 bay leaves
- ½ teaspoon chicken bouillon
Instructions
- Rinse the chickpeas, and add them to the Instant Pot.
- Add the water, garlic, bay leaves and chicken bouillon
- Place the top on the Instant Pot – close the valve, and set the Instant Pot to beans for 35 minutes. Plan on it taking about 10-15 minutes for the pot to come up to pressure and start cooking.
- Once the applicance has beeped that cooking is completed, allow for the pressure to release naturally which will take another 15 minutes.
- Drain beans and save the broth if making hummus.


I’ve had 2 bags of dried chickpeas waiting in my pantry in high hopes that I’d find a great recipe for homemade hummus. They are going to be sooo happy and thank you already Ü
Your photos are so crisp and clean and gorgeous. I’m hoping that you’ll have a mini tutorial on camera choices and settings as well! Thanks again!
I bought two bags two and realized it was overkill until I made my first batch…I soon made a second so now down to ‘only’ one bag. Guess I’ll be making more hummus; I literally ate this on some toasted pita for dinner!
And even more thank you for your kind comments on my photography. I started knowing nothing and many years later I still feel that way sometimes; some photos I love and others don’t make the grade. So…it was time to up my game. I bought myself a new camera for Christmas; trading up from a Canon 60D crop lens to a Canon 6D full frame. I did a LOT of investigating since I’ve seen so many bloggers move up the the more expensive Canon 5D Mark IV and I’m very happy with my choice. The 5D has greater capacity for movies; I won’t ever need anything beyond learning to use mine for web short films and the 6D will be great for those. Then just last week I also bought a new 100mm Macro lens and that changed everything. I had a great lens but it was not able to get the up close shots I craved that the 100mm can do. Black Friday was my friend; I got the camera with a bunch of accessories plus a $350 rebate card that showed up last week; that’s what paid for a good part of the new lens.
I do shoot everything on manual settings and I’ve never thought of doing a tutorial; I guess there are so many other renown photographers providing those resources that I never considered that I should! I can give you the specs of the first photo if you would like those. I opened up the ISO more than normal since it was a gloomy day but also because this camera can shoot easily up to 1000 without the same worry of graininess. I typically shoot with a lower aperature too since I like a lot of bokeh in my backgrounds but I’m finding I like it a bit higher with this camera/lens combination. And because this was one of the first shoots I did with the new combination I’m thinking I easily took 150 shots of this bowl of chickpeas because I really had to test myself to see what parameters worked. I’m in complete learning mode myself right now! Here’s the specs of that first photo:
f/3.5
exposure 1/40 sec
ISO 400
100mm lens
I resisted the notion that a person who loves to cook had to now become a photographer but despite having to head there kicking and screaming I’ve grown to love the photography part…it just took a LOT of practice!
Barb! So glad you have “glommed” onto “The Pot”!! There are a grand number of us “potheads” out here and we are hungry for any and all experimentation using this new wonder. I especially like unusual stuff, uses one wouldn’t expect and I guarantee those results will be coming fast and furious from adventurous cooks like you. Know you are appreciated!
Thank you SO much Vivian! I have run the gamut of gadgets in my life and yes, I hesitated with this one but I’ve found it really is a great addition to the home cooks kitchen. I’m also not of the mindset that any and everything has to be made in one but for those recipes where it will truly save some time and provide great results? I’m on it! 🙂
I haven’t posted a ton of recipes; I’m not turning this site into an Instant Pot site but the ones I’ve made have all been wonderful; they’re all listed at the link below if you would like some additional ideas. My biggest favorites? Hard to decide but I have to tell you that doing corned beef for Reuben sandwiches put 5 pounds on my hips if that’s telling at all? 🙂
/category/food-recipes/pressure-cooker-favorites/