Homemade Fresh Cherry Pie
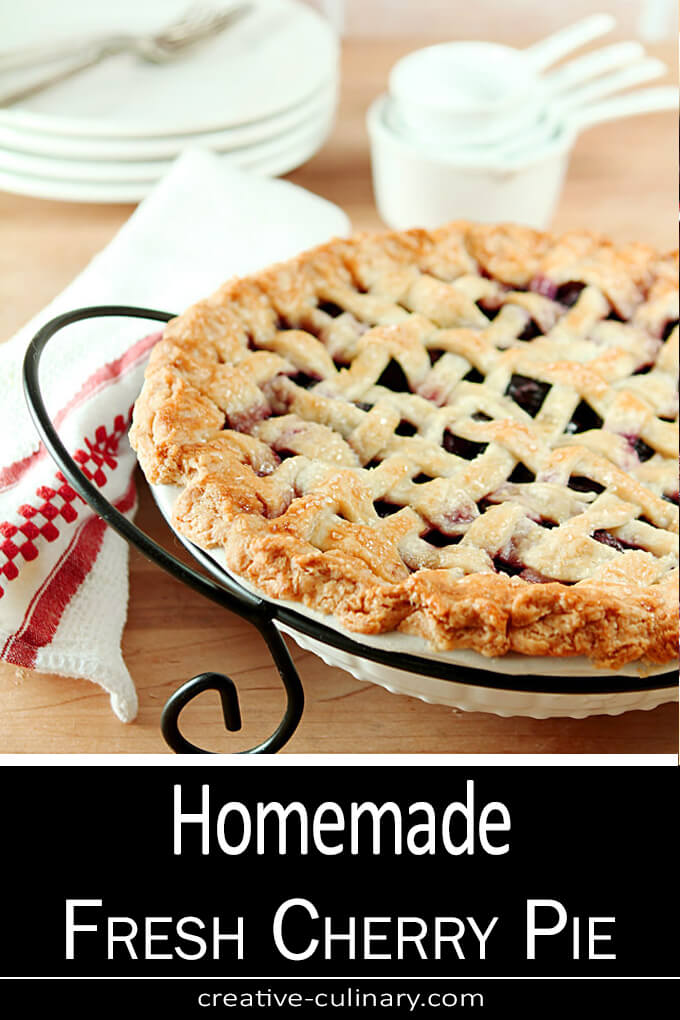
My favorite pie in the world, this Homemade Fresh Cherry Pie has an extraordinary crust and a delicious filling; combined they truly are perfect!
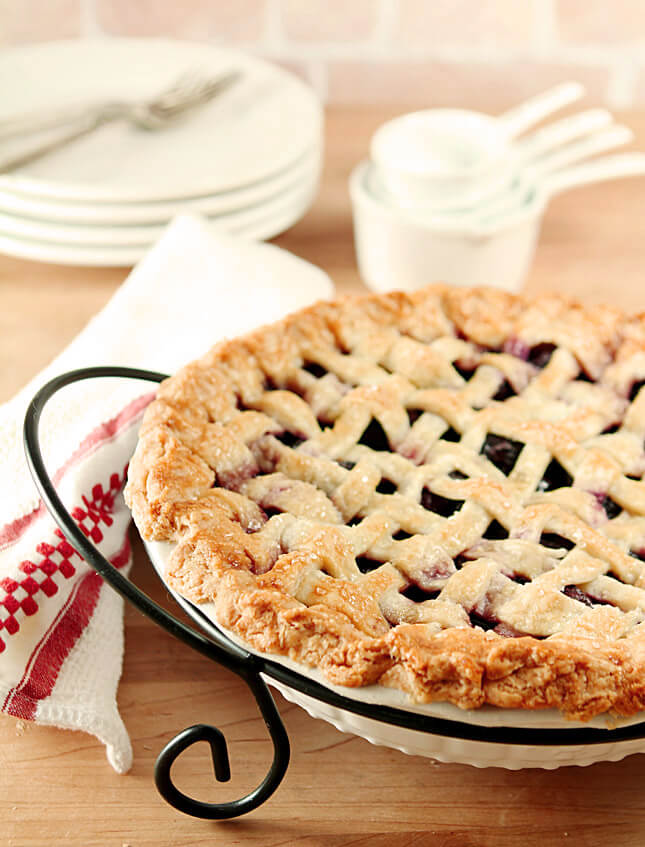
I admit that for all of my youth and a fair number of years as a young adult that my pie baking was limited; I was guilty of grabbing a pie filling off the the shelf at the grocery store. The day that I decided to do the whole thing from scratch was a revelation and I’ve never looked back!
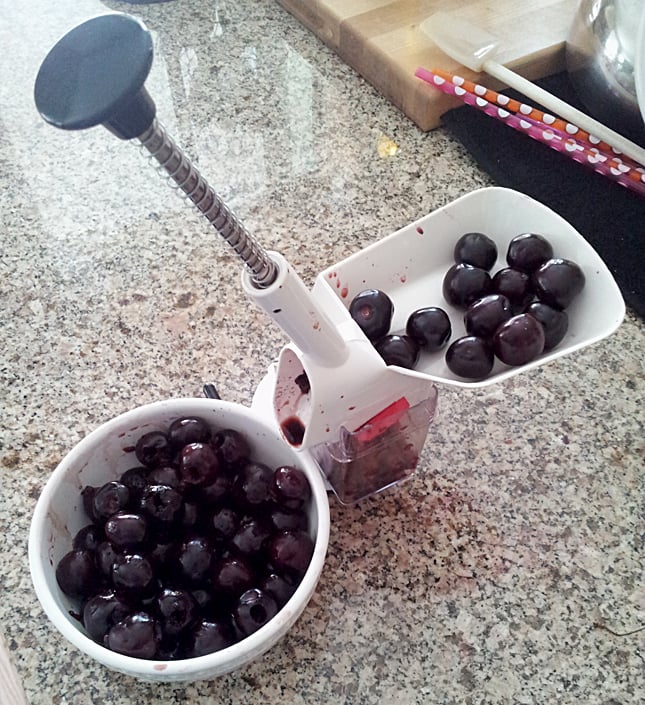
The pie filling itself is simple and basic; letting the fruit shine. The only real work when doing a cherry pie is the removal of all of those pits from the cherries. What a tedious job that used to be; having to open each cherry with a knife to remove the seed.
Years ago I found a simple cherry pitter that removed the seed but it was still a process; doing one at a time took forever. Then along came this…my newest cherry pitter that’s makes quick work of pounds of cherries. I’ve had to fight off the neighbor kids who want to do it for me…now that’s a workload I don’t miss!
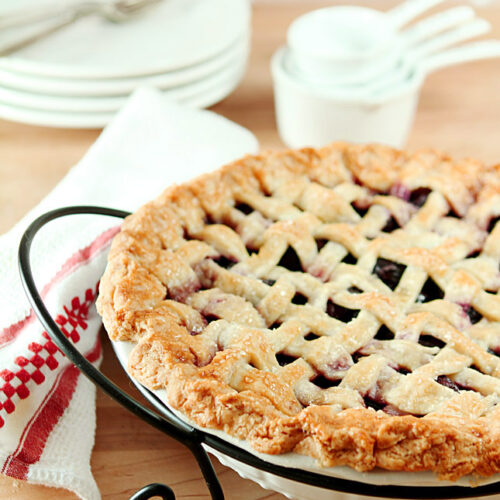
The recipe I use for the crust for this pie is my tried and true favorite pie crust that combines butter and leaf lard; if leaf lard is impossible for you to source, then combine butter and shortening; it will still be a fantastic crust for this simple but delicious pie. I loved making a lattice crust but they intimidate some people; once you master one you won’t be intimidated anymore; they’re really pretty easy.
I’ve actually had this pie recipe on the blog for a couple of years but I erred when I included it with the recipe for the crust; it sort of got lost so I’m giving it a home all it’s own in hopes that more people will enjoy this quintessential summer treat and if you’re making one and live close; I’ll come and be your taste tester. Please?
My pie making Grandma had me doing lattice work (and crimping) since I was little girl but if you did not have a ‘pie Grandma’ here’s a video from Seattle Magazine and expert pie maker Kate McDermott that shows just how simple it is:
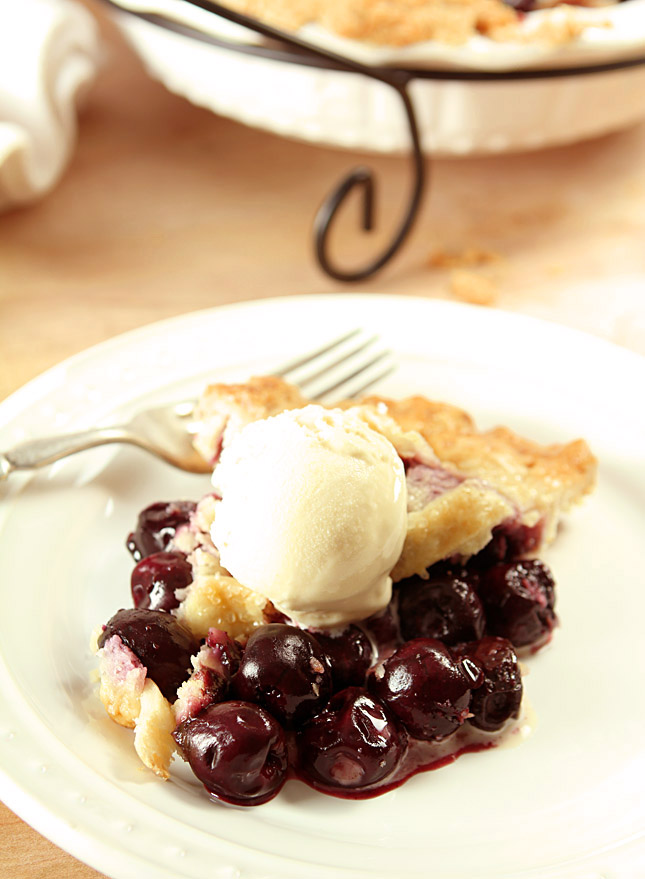
Nothing quite says summer to me like a Homemade Fresh Cherry Pie when cherries flood the market. Make one (or two) for yourself and you’ll never reach for a can again either! I also make small batches of cherry pie filling so I always have a couple of jars of filling ready to go; it’s easy and I urge you to do the same. Trust me; one Homemade Fresh Cherry Pie is so not enough!
PIN ‘Homemade Fresh Cherry Pie’
Homemade Fresh Cherry Pie
Ingredients
For the Pie Crust
- 2 ½ cups all-purpose flour
- ½ teaspoon salt
- 8 tablespoons cold butter 1/2 cup, cut into 1/2-inch cubes
- 8 tablespoons cold lard (1/2 cup) separated into several chunks
- 6-8 tablespoons ice water
For the filling
- 6 cups pitted cherries any variety, fresh or frozen
- ½ to 1 cup granulated sugar depending on how sweet your cherries are; I used 3/4 cup for what I would have called average sweetness cherries
- 2 teaspoons vanilla
- ¼ cup cornstarch
- Pinch of salt
- 2 tablespoons butter cut into small pieces
- 1 large egg lightly beaten
- Sugar to sprinkle on top
Instructions
To Make the Pie Crust
- Mix flour and salt in food processor fitted with metal blade.
- Cut in butter cubes with five 1-second pulses. Add cold lard and continue cutting in until flour resembles coarse cornmeal with butter bits no bigger than small peas, about 4 additional 1-second pulses. Turn mixture out into a medium-sized bowl.
- Use your fingers to quickly sift through the mixture and if you find any really large chunks, just massage with some flour with your fingers to break it up.
- Sprinkle 3 Tbsp of ice water over mixture. With a fork, fluff to mix thoroughly. Squeeze a handful of dough — if it doesn’t stick together, add two more tablespoons of water and repeat. Continue adding 1 tablespoon at a time until a quick squeeze of the dough shows it is sticking togeether.
- Divide dough into two and then flatten into 6-inch discs. Refrigerate for 30 minutes before rolling. I had better success using a pastry cloth than trying to roll it on my granite top but in either case, make sure you sprinkle counter/cloth with flour and flour your rolling pin.
To Make and Assemble the Pie
- In a large bowl, toss together the cherries (if using frozen cherries, they should be frozen; do not thaw), sugar, cornstarch, and salt.
- Let the cherry mixture sit for about 20 minutes if using fresh cherries, 60 minutes if using frozen cherries. (If your cherries have developed a lot of juice, you will need to cook the mixture in a saucepan on simmer until the sauce thickens, about 5 minutes; let cool.)
- Remove your dough from the fridge. Roll one piece into a circle large enough to fill a 9-10″ pie place and fit gently into plate. DO NOT stretch your dough!
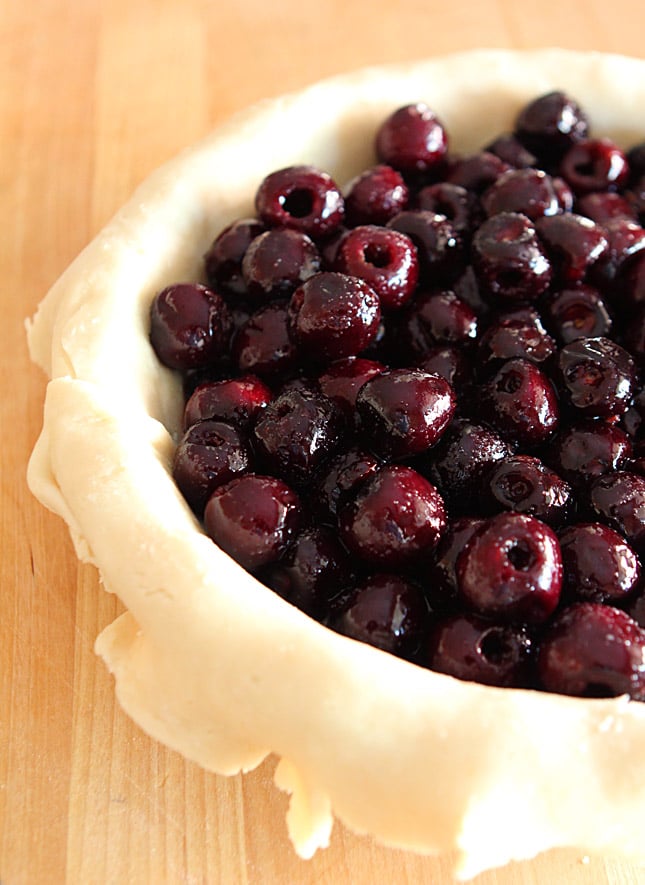
- Dump the cooled cherry filling into the crust-lined pie plate. Dot the top with the butter evenly over the filling and then make your lattice crust (See notes; easier than you think!)
- Trim the dough, roll the edges under and crimp the edges with your fingers or a fork then lightly brush the entire surface of the pastry with the beaten egg. Sprinkle with some sugar; I love using large crystal sugar typically used for cake decorating.
- Place the pie on a rimmed baking sheet lined with aluminum foil.
- Bake the pie at 425°F (220°C) for 15 minutes. Turn the oven down to 375°F (190°C) and bake until bubbling, at least another 30 minutes (longer if using frozen cherries).
- Let the pie cool slightly before slicing and serving.

My favorite pie of all time and this crust is absolutely fantastic.
I really like that cherry pitter! I have one of those single-cherry ones, and although it works really well, it’s a chore pitting more than a handful of cherries. I haven’t made a cherry pie in years, and it used to be my favorite pie (Key Lime is my favorite these days). This brings back memories — my mom used to bake this, a lot. Although she always used the canned filling. This looks much better. Thanks!
The pitter is everything John; makes quick enough work of the pitting that you’re no longer ready to throw a pie against the wall when you’re done. 🙂