Organically Dyed Easter Eggs
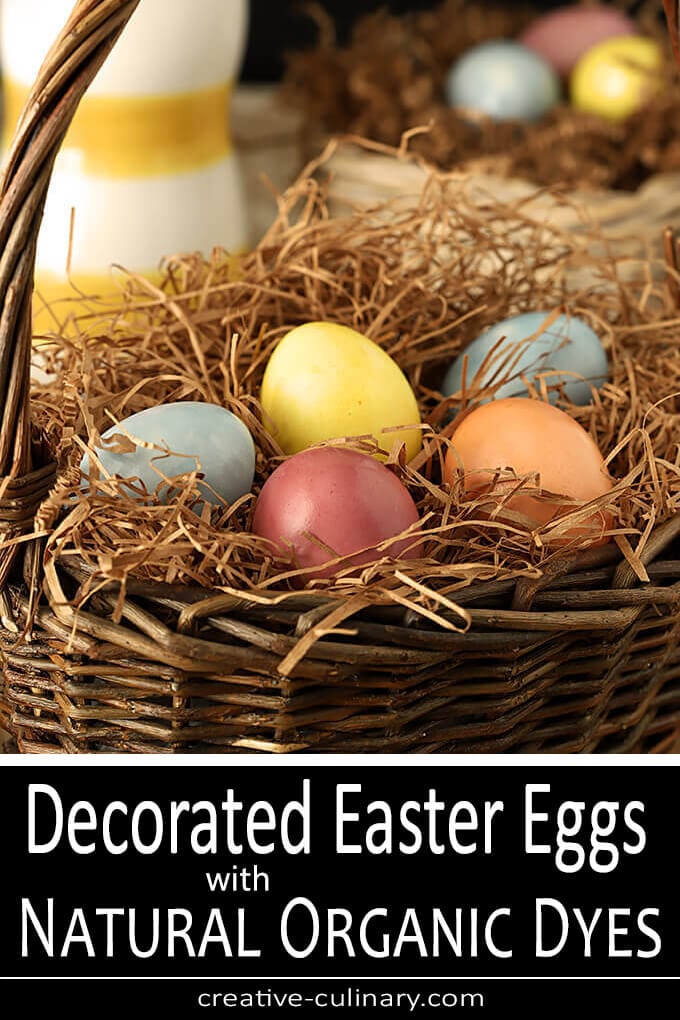
These Organically Dyed Easter Eggs were fun and results in subtle colors using only natural ingredients; no more bottles of colored dyes!
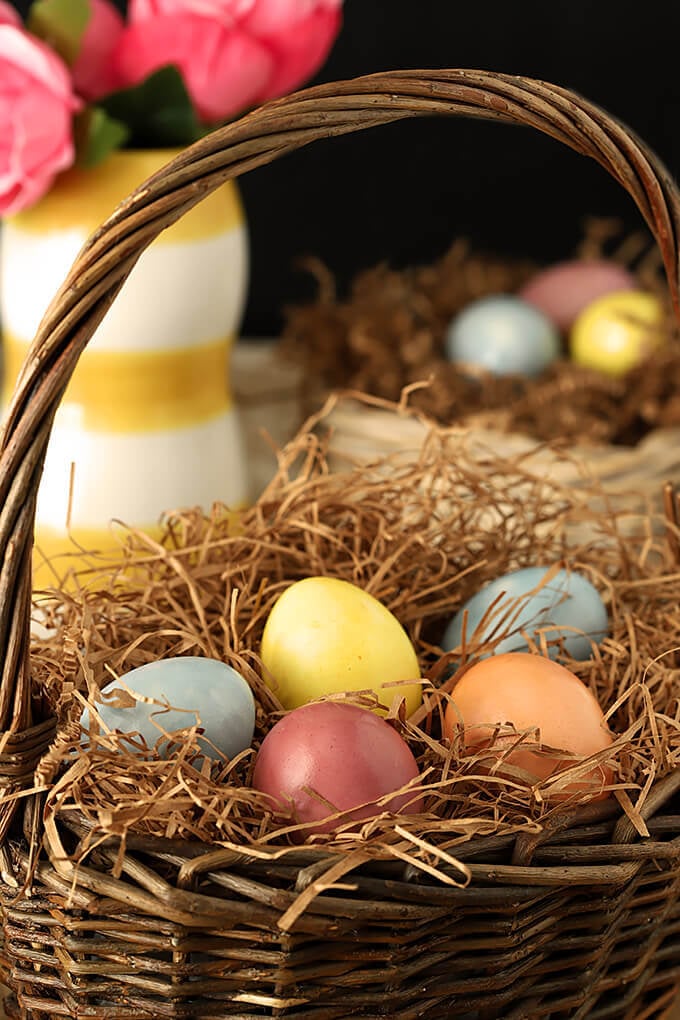
I’ve wanted to do a special post on Organically Dyed Easter Eggs for at a couple of years. Time always escapes me though and it doesn’t happen. Last year I bought a special dye kit with natural ingredients that I wanted to share with readers so I saved it and was all ready to go this past weekend.
EXCEPT. I got out the packets of Batik dye and had my water boiling and read the instructions.
No problem, simple enough; just combine the dye with some vinegar in the water…until I got to the tiny disclaimer. ‘This product should not be used on edible eggs.’ I don’t know about you, but we actually eat our Easter Eggs so there I was, last moment and foiled again, doggone it!
Well I’m nothing if not a punter, after all I have to bake at high altitude, so in lieu of reverting to the dyes I have for frostings, I decided to try something I’ve been curious about for a long time.
How about making Organically Dyed Easter Eggs with all natural ingredients? This was fun…and I was so pleased with the results.
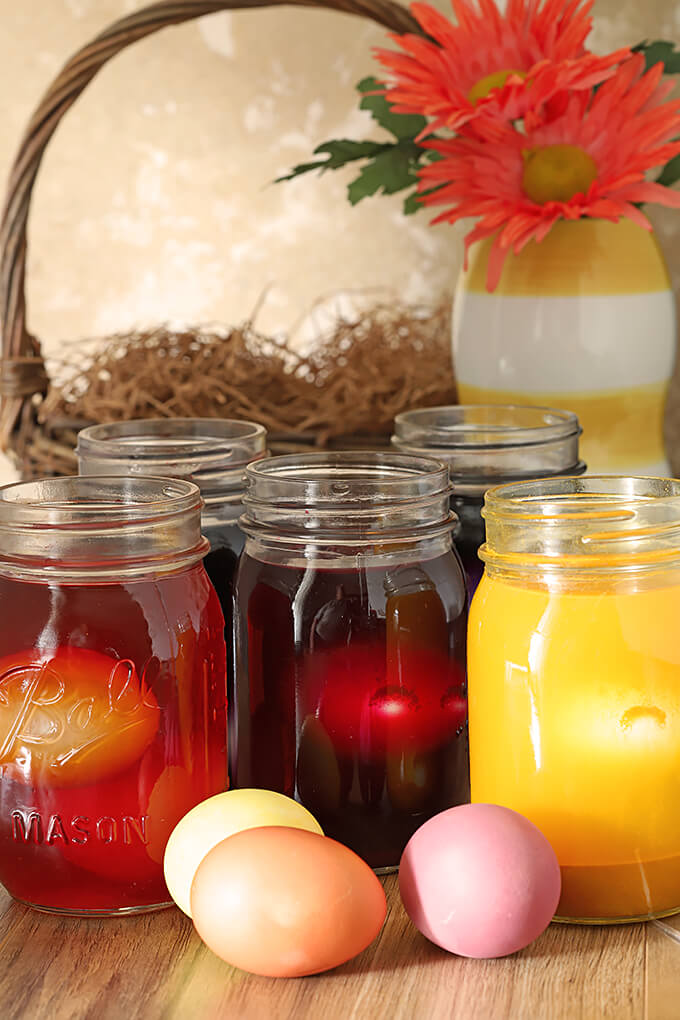
I knew that I could use Turmeric spice for yellow and purple cabbage for blue (it’s true!), both of which I had on hand.
I would need to run and get some beets if I wanted pink but also found upon doing some discovery that yellow onion skins would dye eggs orange.
I grated the cabbage and got it into some water and ran to the grocery to pick up the beets.
I also plucked a dozen eggs into my Instant Pot Pressure Cooker; hard boiled eggs might be the single thing I love most about it! It’s no less time consuming than on the stove BUT the shells peel off so easily, I’ll never make them another way. (See Recipe Notes for Pressure Cooker Instructions).
By the time I got home the cabbage water was a deep purple and ready to go. Everything I’ve read about using purple cabbage assured me the purple water would result in blue eggs and that this color would take the most time; so in the water my eggs went while I worked on other colors.
Orange would require a couple of cups full of yellow onion skins…really, that’s it. I peeled some onions for the skins and got the water boiling. Second one on it’s way!
Next came beets, simply grated and boiled until the water gets a deep red.
Just be careful with the beets; that juice stains everything!
The last color was made with Turmeric, a spice, and it was also the easiest; the color turned immediately and I just boiled it for a minute or two to get a pretty yellow.
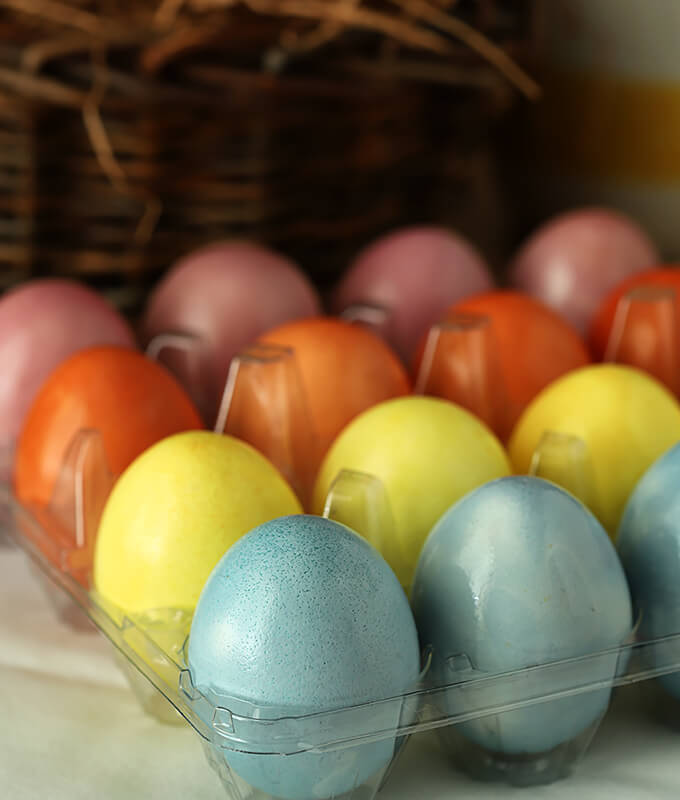
Because this isn’t dye, there really is no quick dipping and done. Plan to do them early. I left them in from 2.5 – 4 hours; only removing them from the water when they had reached the color intensity I wanted.
Since I made mine I’ve read that you can also make blue with either grape juice or blueberries. I’m thinking I need to try purple; experimenting with grape juice and beets combined. You can make brown with coffee…but why? 🙂
It really is as simple as boiling some natural ingredients with water and adding a bit of white vinegar.
The only ‘not so simple’ part is the waiting. I used mason jars for the soaking and only two eggs at a time could be dyed. Since this method requires more than a minute or two that the artificial dyes take, I suggest making enough for 2-3 glasses that would cover at least three eggs total for each color; altogether it would be a dozen with these four colors.
Couple of notes about each process. Beets do the job easily; heck their juice dyes everything it touches…so be careful when peeling and grating them. I wasn’t so I did have pink palms for a bit.
Onion skins were the most surprising. I peeled three large onions, about 2 loose cups of just the skins, and it really made for a potent mixture for orange; I was pleasantly surprised. Turmeric was my favorite; easy and fast and a really vibrant yellow result.
The purple cabbage was problematic for me. Even the smallest amount of vinegar turned the purple water to pink and my hopes of blue eggs were momentarily dashed. I made a second batch and eliminated the vinegar and they turned out fine.
I rubbed some vegetable oil on all of the eggs once they were finished and completely dry and it made them even prettier but that’s personal preference and just an option if want that bit of sheen.
This was fun and anyone can make these Organically Dyed Easter Eggs easily as long as you give yourself enough time. Saturday night might be stretching it on that blue variety for sure. Go for morning and you’ll be golden.
I’m making baskets for my little buddies on the street but I’ll have plenty for us too. Our Easter morning routine always includes these Hard Boiled Eggs with White Sauce on Toast Points, a real benefit on that morning of the year when hard boiled eggs are in over supply. If not for breakfast, my other favorite use would be for making these Deviled Eggs with Lemon Zest, Capers and Chives; they are simply the best!
Happy Easter Egg Dyeing!
More Easter Favorites
PIN IT! ‘Organically Dyed Easter Eggs’
Organically Dyed Easter Eggs
Ingredients
- 1 head purple cabbage
- 3 medium beets
- 3 large yellow onions peeled, peels only
- 1 tablespoon turmeric
- ¼ cup white vinegar
- 12 or more hard-boiled eggs See Notes for using a pressure cooker.
- vegetable oil for polishing
Instructions
For BLUE – Purple Cabbage
- 2 cups shredded purple cabbage + enough water to cover cabbage by 1 inch
- Boil all ingredients until color is noticeably leached out of cabbage, about 10 minute
- Strain and put into vessel to be used for dipping eggs; let cool a bit before dyeing.
- Add hard-boiled eggs and let sit in dye for minimum 8 hours; overnight if necessary
- Let dry completely and then rub the eggs lightly with vegetable oil if you want a light shine
For PINK – Beets
- Two cups water + two cups peeled, grated beets + 1 Tbsp vinegar
- Boil the water and beets for about 10 minutes until color is a deep red
- Strain and put into vessel to be used for dipping eggs; let cool a bit, add the vinegar and stir.
- Add hard-boiled eggs and let sit in dye for approximately 15-20 minutes
- Let dry completely and then rub the eggs lightly with vegetable oil if you want a light shine
For ORANGE – Yellow Onion Skins
- Two cups water + two cups yellow onion skins + 1 Tbsp vinegar
- Boil for about 15 minutes until color is a deep orange
- Strain and put into vessel to be used for dipping eggs; let cool a bit, add the vinegar and stir.
- Add hard-boiled eggs and let sit in dye for approximately 15-20 minutes
- Let dry completely and then rub the eggs lightly with vegetable oil if you want a light shine
For YELLOW – Turmeric Spice
- Two cups water + 1 Tbsp turmeric + 1 Tbsp vinegar creates this vibrant yellow.
- Boil for about 15 minutes until color is a deep yellow
- Pour into vessel to be used for dipping eggs; let cool a bit, add the vinegar and stir.
- Add hard-boiled eggs and let sit in dye for approximately 15-20 minutes
- Let dry completely and then rub the eggs lightly with vegetable oil if you want a light shine
Notes
- 3-12 large eggs
- 1 cup water Ice and water for water bath
- Put a rack or steamer basket and 1 cup of water in an electric pressure cooker: Add your eggs to the basket and lock the lid in place. Turn on the pressure cooker and set to LOW: For eggs, you want LOW pressure (not HIGH).
- Cook your eggs for 5 minutes on low and then leave in pressure cooker for 5 minutes on natural release. Manually release to allow any remaining steam to escape.
- Combine water and ice in a large bowl and let sit while the eggs cook. Once the eggs are finished, remove them from the pressure cooker and Immediately plunge them into the ice bath: Let them cool completely in the water for a minimum of 5 minutes.
- Color, Peel, Enjoy!


Oh my goodness Barb, what a great idea. We always use dye, but never thought of doing this at all. Since we don’t really eat the eggs, I always complain about how much we waste. This is the next best thing!! Madison would LOVE it. I’m so doing this next year.
I bet your readers would love this idea!
What a fun recipe! Yes, we eat our eggs — how odd to produce a dye with the assumption people don’t want to! Anyway, such terrific ideas you have! The eggs look spectacular — great photos. Thanks!
I must have read it multiple times thinking I was losing my mind John…how odd is right! But these turned out so lovely I’m glad I did it and can now offer up a ‘recipe’ for others too!
Hi..Awesome recipe and stunning report..I am following you and on your mailing list since few years…I am from the Middle East and we color Eggs with onion and Beet since Many years..in old Bazar they used to sell Hard Boiled Eggs but colored as you described.. Best Wishes looking to read more of your Awesome recipes..Zouhair
Thank you so much for letting me know!